Shanghai Gokai Industry Co,.Ltd.
Call Us: +86-18918606548
Call Us: +86-18918606548
- Product Name
- Product Keyword
- Product Model
- Product Summary
- Product Description
- Multi Field Search
Views: 277 Author: Gokai Publish Time: 2026-07-31 Origin: Site


Content Menu
● Why Plexiglass Scratches So Easily
● Can Scratches Be Removed from Acrylic Sheet?
>> Basic kit
● Method 1: Remove Light Scratches with Polish
● Method 2: Wet Sanding for Moderate Scratches
● Method 3: Restore Clarity After Sanding
● Deep Scratches: When Repair Has Limits
>> Signs replacement may be smarter
● Expert Tips from Fabrication Practice
>> What professionals do differently
● When Customers Should Replace Instead of Repair
● How to Prevent New Scratches
● Why Acrylic Scratch Care Matters for OEM Buyers
● Final Advice for Better Results
● FAQ
>> 1. Can toothpaste remove scratches from plexiglass?
>> 2. What grit sandpaper should I use on acrylic?
>> 3. Can deep scratches be fully removed?
>> 4. Is it safe to use a rotary tool on acrylic?
>> 5. What is the best way to prevent scratches?
>> 6. Should scratched acrylic be replaced or repaired?
Plexiglass scratches easily, but the good news is that many marks can be improved or removed with the right method. If you work with acrylic sheet, display panels, machine guards, signage, or OEM plastic parts, knowing how to remove scratches from plexiglass can save time, reduce waste, and extend product life.
Plexiglass is widely used because it offers excellent clarity, light weight, and design flexibility. However, its surface is softer than many harder plastics, which means it can pick up scratches from everyday handling, cleaning, shipping, cutting, and installation.
In many B2B applications, the biggest risk is not one major event, but repeated small contact. Dust, improper cloths, abrasive cleaners, and stored parts rubbing against each other can all create visible surface damage over time.
- Dust and grit wiped across the surface.
- Harsh cleaning tools or paper towels.
- Improper packaging during transport.
- Contact with metal tools during fabrication.
- Stacking sheets without protective layers.
Yes, many scratches can be reduced or removed, especially if they are light to moderate surface marks. Shallow scratches are often treated with plastic polish, while deeper marks usually require wet sanding followed by polishing.
The key is to identify the scratch correctly before you start. A scratch that looks dramatic under bright light may still be shallow, while a faint line that catches a fingernail may be deeper than expected.
Before repair, clean the area and inspect the surface under direct light. This helps you separate true scratches from other issues such as chemical haze, crazing, or embedded dirt.
Use this quick test:
1. Clean the surface with mild soap and water.
2. Dry it with a microfiber cloth.
3. Run a fingernail lightly across the mark.
4. If the nail does not catch, the damage is usually light.
5. If the nail catches, sanding may be needed.
If the surface shows widespread crazing, deep cracking, or stress whitening, repair may not restore full clarity. In those cases, replacement is often the better choice.
You do not need an industrial setup for light scratches. For deeper repair, you only need a small set of dependable tools and the right technique.
- Mild soap and clean water.
- Microfiber cloths.
- Acrylic or plastic polish.
- Soft cotton cloth.
- Wet/dry sandpaper in fine grits.
- Spray bottle of water.
- Clean gloves for handling finished surfaces.
- Masking tape for protecting edges.
- Rotary buffer for large panels.
- Lint-free cloth for final wiping.
- Bright inspection light.
For fine surface marks, start with a dedicated plastic polish. This is the safest and fastest option when the scratch is shallow.
1. Clean the surface thoroughly.
2. Apply a small amount of plastic polish to a soft cloth.
3. Rub the scratched area in a gentle circular motion.
4. Continue buffing with light, even pressure.
5. Wipe away residue and inspect the result.
6. Repeat if needed.
This method works best for light scuffs, cleaning haze, and tiny marks caused by everyday use. It is also the preferred first step before sanding, because it may solve the problem without material removal.
- Use a clean section of cloth as you work.
- Do not press too hard.
- Stop often to check progress.
- Avoid aggressive compounds unless the surface truly needs them.

If polish alone does not work, wet sanding is the next step. This method gradually levels the scratched area so the final polish can restore clarity.
1. Clean the panel well.
2. Start with the lowest grit needed.
3. Wet the sandpaper and the surface.
4. Sand gently in one direction or a controlled circular motion.
5. Keep the surface wet at all times.
6. Move to a finer grit.
7. Repeat until the scratch is no longer visible.
8. Finish with plastic polish.
- 600 grit for deeper moderate scratches.
- 800 grit for intermediate smoothing.
- 1200 grit for final leveling.
- 1500 to 2000 grit if you want an even finer finish.
The goal is not to rush. Each grit removes the marks left by the previous one. If you jump too quickly, the scratch pattern may remain visible after polishing.
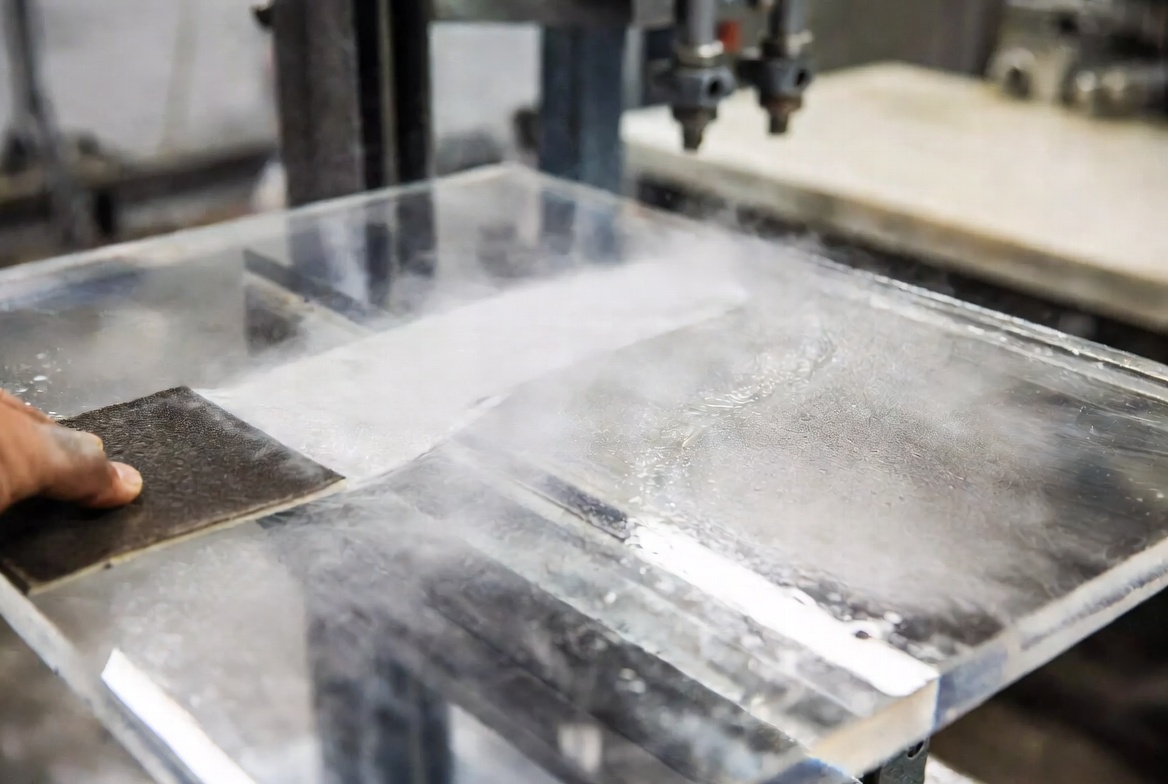
Sanding removes the damage, but it also leaves the surface dull. That is normal. The final polishing stage is what brings back transparency and shine.
1. Apply a small amount of polish or compound.
2. Rub with a soft cloth or buffing pad.
3. Work in consistent, controlled motions.
4. Remove all residue.
5. Inspect under bright light.
For larger sheets or fabricated parts, a low-speed rotary buffer can improve consistency. Keep the pad moving at all times to avoid heat buildup and surface distortion.
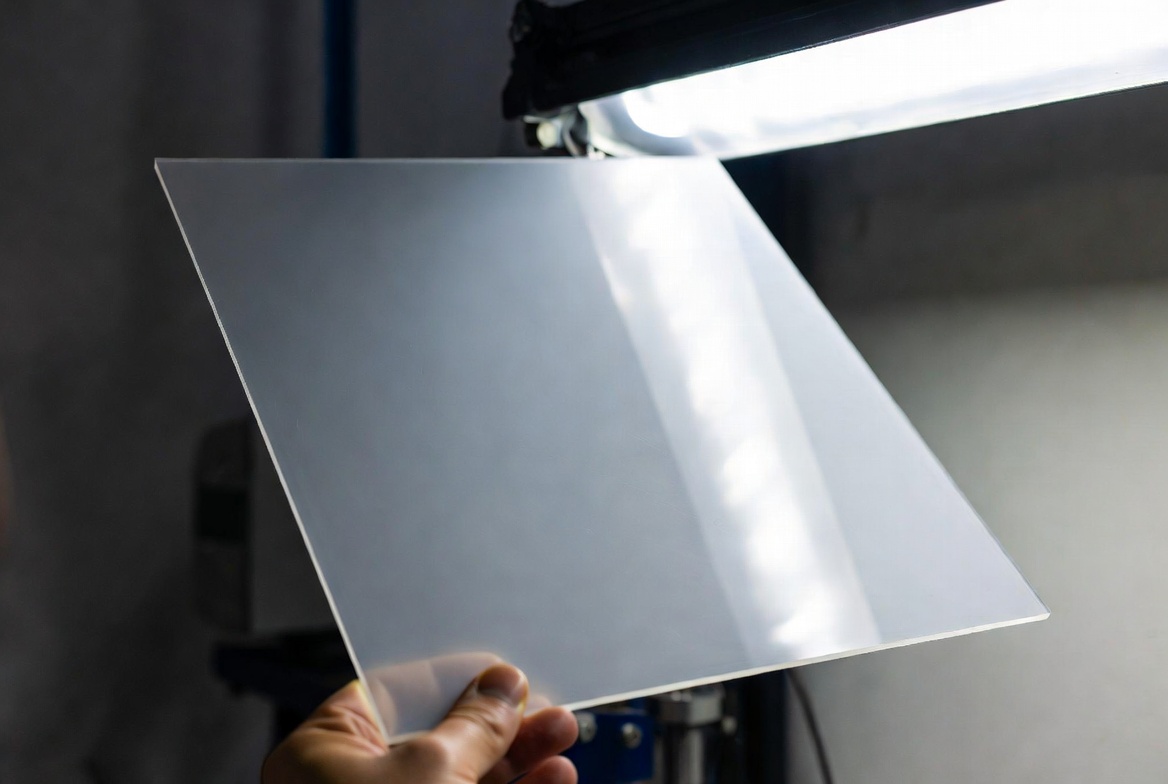
Deep scratches are harder to eliminate completely. If the damage catches strongly with a fingernail, or if the groove is too deep to flatten without removing too much material, replacement may be more practical.
- The scratch is deep and narrow.
- The surface shows cracking or crazing.
- The panel is optical or display-critical.
- The part is load-bearing or safety-related.
- The sheet has repeated damage across a large area.
In commercial environments, replacing a compromised panel can be more cost-effective than spending labor on a finish that still looks imperfect.
From a manufacturing point of view, scratch repair is only part of the story. Prevention matters just as much as restoration.
- Store sheets with protective film on until installation.
- Separate stacked panels with clean interleaving material.
- Use non-abrasive cleaners only.
- Remove dust before wiping.
- Train installers to avoid dry rubbing.
- Handle cut edges carefully, since rough edges can transfer marks.
These habits reduce surface damage and improve the final appearance of finished acrylic components.
For OEM projects, the right decision is not always repair. Sometimes replacement protects product quality, delivery speed, and brand reputation.
- The surface is cracked.
- Stress crazing is widespread.
- Clarity must be perfect.
- The part is for high-visibility retail use.
- Repair time exceeds replacement cost.
For custom applications, it can also be useful to upgrade to a tougher material if the environment is highly abrasive.
Prevention is the best long-term strategy. Even a perfectly restored panel can become damaged again if it is cleaned or handled incorrectly.
- Clean with mild soap and water.
- Use only microfiber or soft cotton cloths.
- Avoid paper towels and abrasive pads.
- Keep acrylic away from harsh solvents.
- Package sheets with protective separators.
- Store in a dust-free area when possible.
If your team handles acrylic regularly, a written handling standard can reduce returns and improve consistency.
For suppliers and buyers in B2B manufacturing, surface condition affects more than appearance. It can influence product perception, installation time, customer satisfaction, and after-sales service costs.
A well-finished acrylic panel is easier to sell, easier to install, and less likely to trigger complaints. That is why many buyers prefer suppliers who can provide not only cut-to-size sheet supply, but also fabrication support, careful packaging, and custom surface handling guidance.
If you want the best outcome, always start with the gentlest method and work upward only when needed. Clean the surface first, use controlled pressure, and finish with a proper polish. For deep damage, be realistic about whether repair or replacement gives the better result.
For OEM and wholesale projects, the smartest move is often to prevent the scratch in the first place through better storage, packaging, and handling standards. That approach saves labor and protects product value over the full supply chain.
If you need OEM acrylic sheet supply, custom cutting, or project support for scratch-sensitive applications, choose a supplier that understands both fabrication and surface protection. For demanding export projects, the right material, the right finish, and the right packaging make a measurable difference.
Toothpaste may reduce very light marks in some cases, but it is not the most reliable option. A dedicated plastic polish is usually a better and safer choice.
For moderate scratches, many users start around 600 to 800 grit and then move upward to finer grits. Always use wet/dry paper with water.
Sometimes, but not always. Very deep scratches may leave visible distortion even after sanding and polishing.
Yes, but only with care. Keep the speed low to moderate, avoid overheating, and keep the tool moving constantly.
Use microfiber cloths, mild cleaners, protective packaging, and careful handling during storage and installation.
If the scratch is shallow, repair usually makes sense. If the panel is cracked, crazed, or highly visible, replacement is often the better option.
- [Acme Plastics — How to Remove Scratches from Plexiglass / Acrylic]
- [AC Plastics — How to Prevent & Remove Scratches from Plexiglass]
- [Plexiglas — Sanding and polishing PLEXIGLAS®]
- [The Plastic People — How To Remove Scratches From Acrylic]
- [Acrylics by Design — Acrylic Scratch Repair]
- [Fab Glass and Mirror — How to Remove Scratches from Plexiglass/Acrylic?]
- [TT Plastic Land — How to Remove Scratches from Acrylic Sheets]